Before you start make sure you have all the tools and materials ready to ensure a smooth process.
Checking the patio door rollers
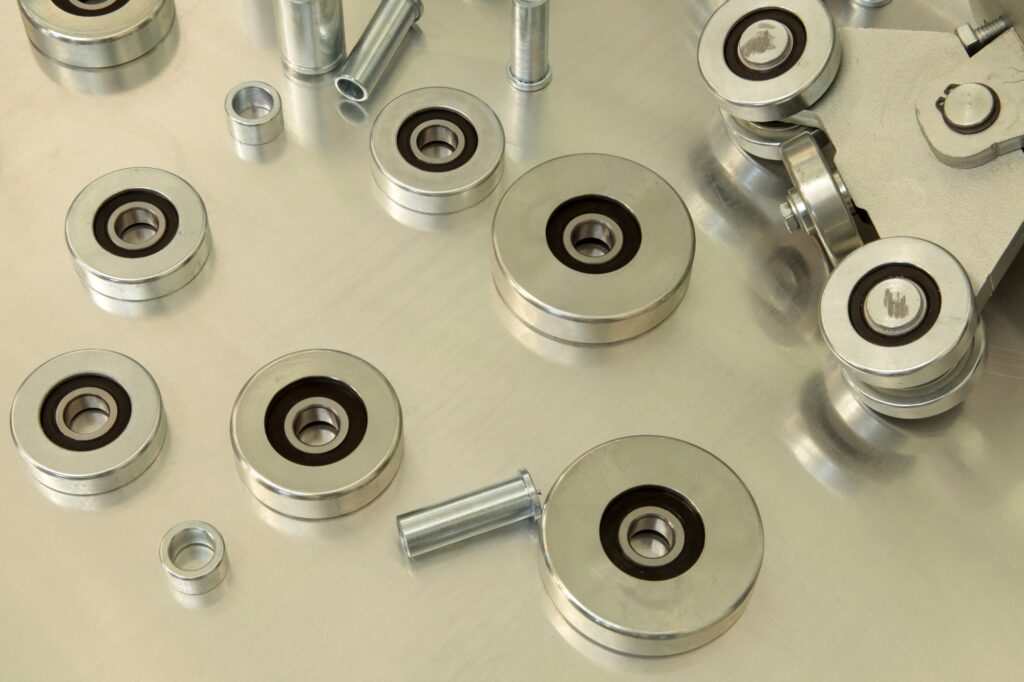
To begin, inspect the condition of the patio door rollers to ensure they are in shape and adjustable. If they are worn out or damaged adjusting them won’t be effective. You might need to replace them completely.
- Clear any dirt or debris from the track; Dirt, leaves or other debris can accumulate in the track causing difficulty in opening and closing the door. Remove any debris to enable movement of your door along the track.
- Examine the rollers; Find the adjustment screws on your door to perform this step. Most patio doors have two sets of rollers on their edge. One at the front and another at the back. Look for access holes that allow adjustments on these rollers; typically located on the rail of your door.
- Test out the rollers; Lift up your door and move it back and forth to observe if there is smooth movement, in its rollers.
If you encounter any resistance or notice that the rollers are unstable it’s a sign that they need to be adjusted.
Adjusting the rollers of your patio door
Once you have inspected the rollers of your patio door and confirmed that they are in condition it’s time to make adjustments. Here’s what you need to do;
Prepare the door:
Slide open the door until you can easily reach the screws for adjusting the rollers. You may want to secure the door in place using tape or a doorstop to prevent it from moving while making adjustments.
Locate the adjustment screws;
As mentioned earlier you will usually find these screws on the edge of the door. Look for a hole on the rail or directly on the roller assembly. Depending on your style there may be one or two screws per roller.
Adjusting the rollers;
Insert a screwdriver into the hole. Turn the adjustment screw either clockwise or counterclockwise depending on which direction you want to adjust. Turning it clockwise will raise the door while turning it counterclockwise will lower it. this also applies if you need to make sure you know how to adjust patio door rollers.
Test out your adjustments;
Once you have made adjustments, to the rollers gently move back and forth with your sliding door to check if everything is working smoothly.
Here are the steps you should follow;Keep repeating the process;
until the door slides smoothly and you’re satisfied with how it operates.
Apply lubricant to both the rollers and track;
after making any adjustments. This will ensure operation and prevent any potential damage. Its recommended to use a silicone based lubricant as it won’t attract dirt or debris providing results.